Project Overview: Hunter 角色制作流程
翻译:层层(本站翻译小组成员)
原作者:Satya Reddy(3dtotal)
Hello, everybody! Here I’m going to show how to get reflection and refraction without having any anti-aliasing problems, using the Scanline Renderer in 3ds Max. I’m working in 3ds Max 2012, but the process
is the same in all versions so let’s get started.
大家好!这个教程中我将教大家如何用3ds Max的线扫渲染器渲染出没有糟糕锯齿的折反射效果。我使用3ds Max2012,
但是这一过程适用于各个版本,好了,我们开始吧。
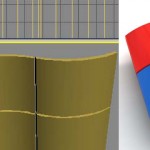
Create a basic cube, convert it into a poly and extrude the opposite faces in order to get a nice bar shape.
Then chamfer the edges to smooth everything out; in my case I’ve used a setting of 16 (Fig.01).
创建基本立方体,将其转换为可编辑多边形,将相对的两个面挤出,形成一个长条。然后倒角,使其圆滑,我倒角给到16的数值。(图01)

图01
Press “6” to open Particle View. Create a flow with a Birth Event, Position Icon, Speed, Rotation,
Shape Instance, Spin, Scale and Static Material (Fig.02). Then use the following settings:
按下“6”键,打开PF粒子视口。创建一个带有Birth Event, Position Icon, Speed, Rotation,
Shape Instance, Spin, Scale和Static Material的流程(图02)。并使用一下参数:
• Birth Event: set Emit Stop and Emit Start to 0, and Amount to 60.
出生:设置发射停止和开始都在第0帧,发射数量为60
• Position Icon: set Location to Volume and Select Distinct Points Only to 10.
图标处出生:Location设为Volume,勾选Distinct Points Only
• Speed: set a 300 var%0 and Directions to Random 3D.
速度:速度设为300,变化值为0,Direction选择Random 3D
• Rotation: set Orientation Matrix to World Space, Width (X, Y, Z) to (70, 30, 180) and Divergence to 0.
旋转:设置Orientation Matrix为World Space,XYZ分别为70,30,180,Divergence为0
• Shape Instance: in Particle Geometry Object select the bar we created just now.
图形实例:在Particle Geometry Object下选择我们刚才创建的长条
• Scale: set this to 100% var%0.
缩放:缩放值给100% ,变化值为0
• Spin: set Spin Rate to 180, Variations to 45 and Spin Axis to Random 3D.
自旋:设置Spin Rate为180,变化值为45,Spin Axis改为Random 3D
• Scale: type Relative First and set Scale Factor (X, Y, Z) to (98, 98, 98). Also set Scale Variations (X, Y, Z) to (116,116,116).
缩放:type选择Relative First,设置Scale Factor的XYZ分别为98,98,98.设置Scale Variation为116,116,116
• Material Static: as we didn’t create anything specific, put in some basic material for testing the scene.
材质:因为还没有创建具体的材质,先放一个标准材质球进行测试
• Display Event: set Type to Geometry.
显示:显示类型设置为Geometry
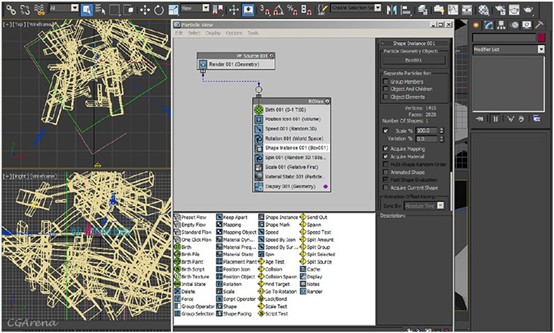
图02
After using the above settings, you will get something like this (Fig.03).
当设置完以上参数之后,你会得到下面的效果(图03)。
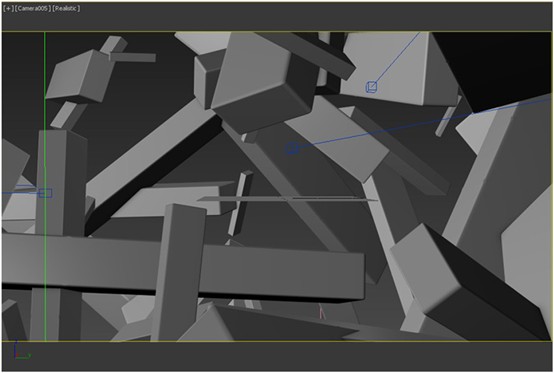
图03
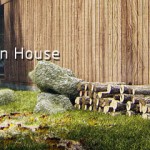
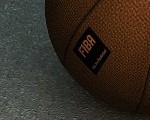
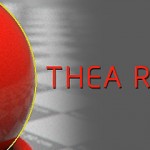
Now place your text, logo or whatever you want in the center of the particles (Fig.04).
现在可以在粒子中间放置文字,logo或者其他你想要的(图04)。
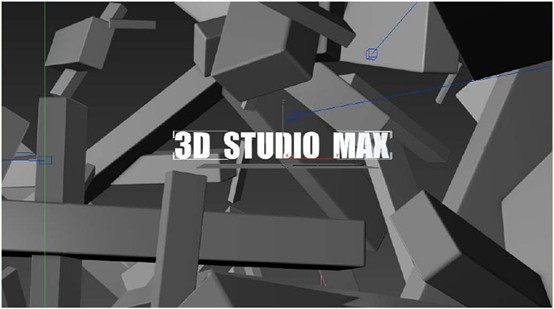
图04
We can see that the particles are animating at this stage, Now select the frame where you want to show the text in the scene.
In my case I select frame 105 (Fig.05).
我们可以看到,现阶段粒子是有动画的。现在选择你想展示文字的一帧,我选择第105帧(图05)。
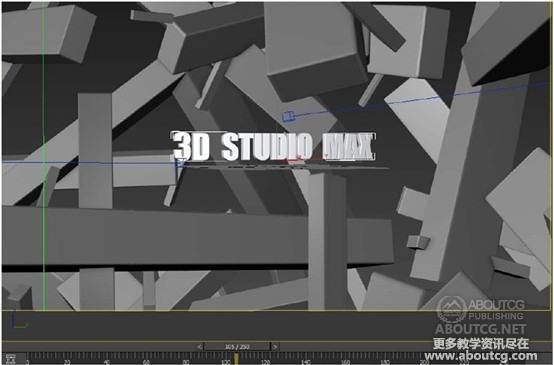
图05
The particles are still animating. To stop the particles on frame 105 we can use PFlow, but it will be a bit messy.
A better idea is to use the Mesher tool. Go to the Compound Objects dropdown and select the Mesher.
Draw the pyramid anywhere in the viewport (Fig.06).
粒子仍然有动画。要在105帧停止粒子动画,我们可以使用PFlow,但是这样很麻烦。更好的方法是使用Mesher。
在Compound Objects的下拉列表中选择Mesher。在视口中的任何地方画一个角锥体(图06)。
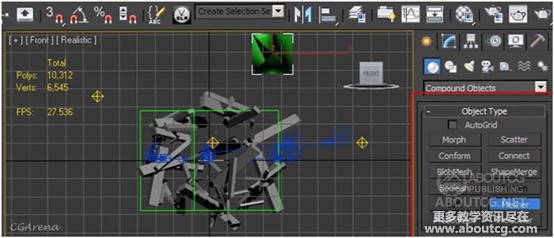
图06
Now go to the Modify panel of the Mesher, select the Pick Object None button and select Particle Flow (Fig.07).
现在到Mesher的修改器面板,拾取Particle Flow(图07)。
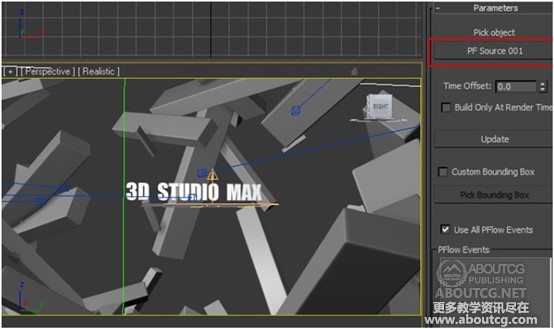
图07
Now we can see two particles in the viewport (Particle Flow and Mesher).
As we move the time slider both the Particle Flow and Mesher will animate together. To break this chain simply right-click on the Mesher particles and use the Convert To > Convert to Editable Poly option (Fig.08).
现在在视口里我们可以看到两套粒子(PF和Mesher)。当我们移动时间滑条,PF和Mesher都有动画。要想打断这样的关联,
只需要在Mesher上单击右键Convert To > Convert to Editable Poly将其转化为可编辑多边形(图08)。

图08
We can switch off Particle Flow as it is no longer required now, or delete it and place static particles in its place.
Adjust the particles if they are colliding with the text or logo, Delete them by going to PolySelection >
Element and selecting the ones you want to delete, move, rotate or scale.
关闭或者删除PF,将静止的粒子放到PF的位置。调整粒子,如果它们和文字或者logo发生碰撞,通过PolySelection >
Element进入物体的元素级别,可以对你想调整的粒子进行删除、位移、旋转或者缩放。
It’s time to make things good now, so create a Camera and adjust it so that it views correctly.
Create three omni lights and put them in different directions with Ray Traced Shadows,
Multiplier set to 0.7 and Color RGB to: 245, 245, 245. The omni light positions are (Fig.09):
现在可以开始制作好看的效果了。创建一架摄像机,调整使其视角正确。创建三个点光源(omni),
把它们放在三个方向上,打开光线追踪阴影( Ray Traced Shadows),亮度(Multiplier)调到0.7,
颜色RGB给到245,245,245.灯光位置如图(图09):
• Omni 1: X:-622.021 Y: 328.778, Z: 358.253
• Omni 2: X: 850.731 Y :-204.176, Z: 97.157
• Omni 3: X: 18.854 Y: -584.146, Z: 97.157
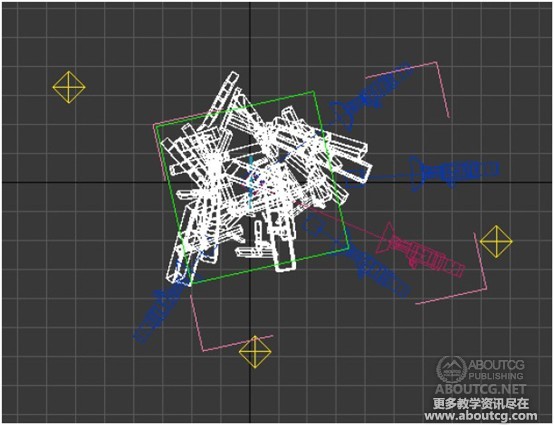
图09
In Particle Materials take the empty slot and use these settings:
粒子材质如下设置:
• Diffuse: RGB: 150, 150, 150
• Specular Level: 53
• Glossiness: 55
漫反射:颜色RGB:150,150,150
反射级别:53
高光:55
In Maps use these settings:
Maps使用如下设置:
• Reflection: Reflect/Refract
• Refraction: Raytract
• Text Material Diffuse: RGB: 242, 247, 252
• Specular Levels: 95
• Glossiness: 16
反射:反射/折射
折射:光线追踪
文字材质漫反射:RGB:2424,27,252
反射级别:95
高光:16
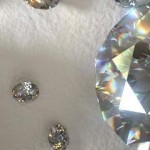
Now do a test render. You can see the image is not good at all because there is an anti-aliasing problem (Fig.10).
现在渲染测试。图像并不理想,因为有锯齿(图10)。
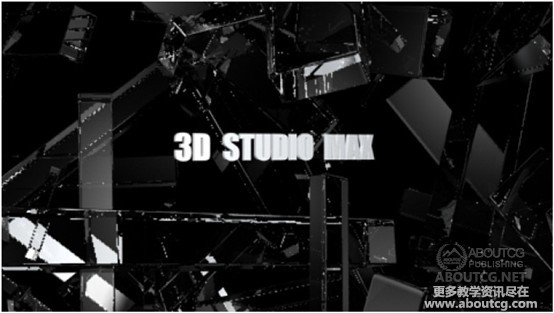
图10
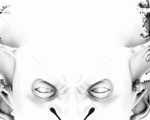
As you look closely at the final video, you can only see the text in the reflections on the bars;
you can’t see it directly. Right-click on the text, then go to Object Properties and uncheck Visible to the Camera.
After doing this you will only see the text in the reflections (Fig.11).
如果看最后的成片,你会发现文字只能在反射中看到,而不能直接被看到。右键单击文字,进入物体属性(Object Properties)
取消对摄影机可见(Visible to the Camera)。完成这一步,你就只能在反射中看到文字了(图11)。
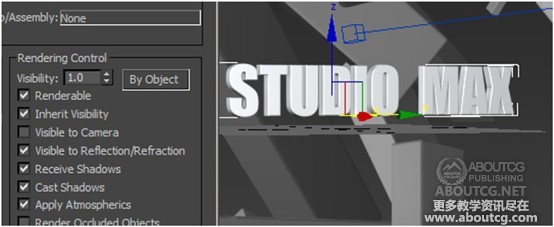
图11
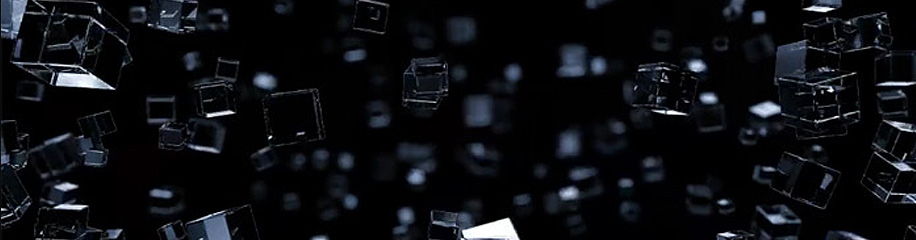
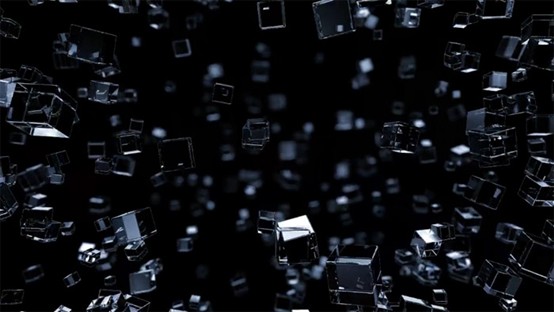
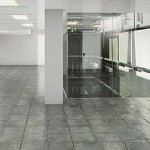
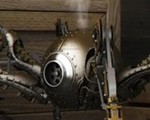
Here’s a quick test result (Fig.12).
这是快速渲染测试的结果(图12)。
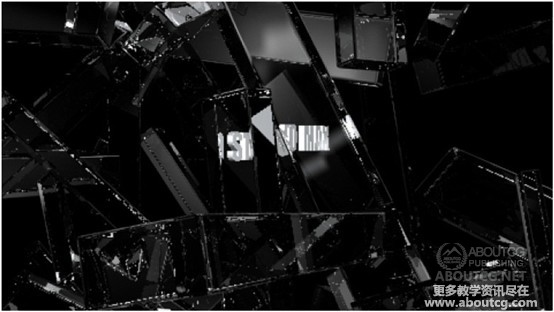
图12
To get a good result in the final render we should tweak some settings. I’m using Scanline Renderer for this effect.
Go to the Renderer tab, and in the Antialiasing section set Filter to Mitchell-Netravali,
and Blur to 1.0. In the Global Super Sampling section, tick Enable Global Supersampler,
select Hammersley and set Quality to 1.0 (Fig.13).
为了最终渲染出好的效果,我们需要调整一些参数。我会用线扫渲染器完成这一效果。在渲染标签下,
将抗锯齿(Antialiasing)的Filter改为Mitchell-Netravali,Blur为1.0,在Global Super Sampling的部分,
勾选Enable Global Supersampler,下面的方框里选择Hammersley并设置Quality为1.0(图13)。
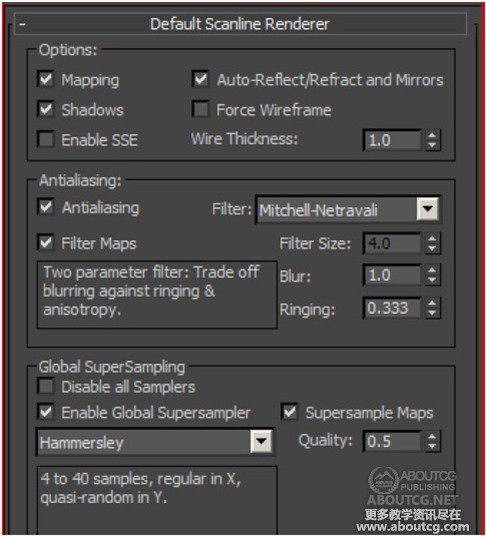
图13
That’s it – I hope it’s been informative.
大功告成——希望这个教程对您有用。
您可以能还会喜欢这些内容:

推荐相关中文教程

3DSMAX动力学特效实战教学
本套教学将通过24章实例教学,来向你详细讲解3DSMAX的动力学特效在电视包装与广告中的应用。VUE自然景观实战案例教程
本套教学是由MG录制。讲解分析了vue的海水材质问题,以及全中国首次以案例的形式讲解vue与maya的结合运用,如何将maya的角色动画导入到vue场景文件中做遮罩并且渲染。3DSMAX国外粒子案例效果解析
本教学通过27个实战案例,教您如何用3DSMAX结合ParticleFlow本身以及扩展的ParticleFlow Box 1、Box 2、Box 3、功能包,结合Vray渲染器,来制作流行的广告和电视包装中的粒子特效效果。无论是常见的粒子聚合,分散,动态粒子替换,粒子矩阵,粒子动力学,本套教学都有相应的案例。3DSMAX国外流体案例效果解析
本教学通过20个实战案例,教您如何用3DSMAX结合Realflow,FumeFX, ParticleFlow插件,来制作流行的广告和电视包装中的流体效果。无论是常见的液体,烟雾,流体碰撞,沙粒变化,水墨表现,本套教学都有相应的案例。2.5D商业游戏场景制作教程 进阶篇
在本教程中,Freeyy老师将从零开始,向你讲解如何根据确定的主题进行前期准备,随后建模,绘制贴图,制作材质,最后再进行细节调整,完成一个商业游戏级别的2.5D场景画面。Substance Designer贴图材质系统完全教学
本套Substance Designer教材是由AboutCG陶仁贤历经三个月的潜心研究,录制完成。从Substance Designer在游戏行业的流程入手,逐一介绍产品特点,界面,以及内置的200多个节点的原理和结构。并通过多个实例教材为您展示从零开始制作贴图,Substance Designer与Maya Anrold渲染引擎的互动,Substance Designer与Max互动、Substance Designer与Unity 3D引擎互动、Substance Designer与UnrealEngine3/UDK互动。Mentalray for max实战教程
本教程共包含超过42小时以上的视频教学内容,共18章 132课,通过大量实例,详细讲解了3ds Max平台下的Mental Ray1渲染器的使用基础和实战方法。是一部非常完整详细的3dsMax版的Mental Ray渲染器的教学.arnold for maya渲染器完全教学
Arnold渲染器是基于物理算法的电影级别渲染器,正在被越来越多的好莱坞电影公司以及工作是作为首席渲染器使用。与传统用于CG动画的Scanline(线扫描)渲染器(Renderman)不同,Aronld是照片真实,基于物理的光线追踪渲染器。


推荐课程


推荐教程

0回复3d技术基础知识:教你认识反射和折射"