
本教学为翻译教学,转载请注明来自aboutcg.net,以及注明翻译者
原教学出自zbrushcentral网站,原始链接如下:
http://www.zbrushcentral.com/zbc/showthread.php?t=072411
作者: a i r
翻译:KanyaYan ( 翻译中有错误之处请谅解,并请帮忙指出!谢谢!)
关于译者:

转载请写明出处和翻译者,谢谢。
1.Creating low poly mesh.
创建低模。
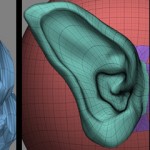
2.Brushes used to define proportions and distinctive points of character.
使用笔刷来确定比例和角色的特点。
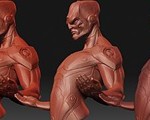
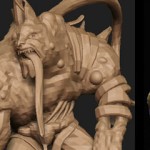
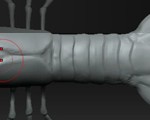
3.Anatomy of the character completed, moving on to accessories.
角色的解剖完成并加上配饰。
4.Painting mask to extract subtools, in this case shirt.
画出衬衫外形的遮罩后提取出subtools。
5.Subtool extracted.This is great feature where creating clothes is pure fun part of the procedure with great results.
subtool extracte是个很强大的功能,这样创造衣服是件愉快的过程并得出很好的效果
。
6.Subtools created and detailed.Returning to the base mesh of the character to make textures and color.
Subtools创建和细节完成后就开始角色纹理和色彩的制作了。
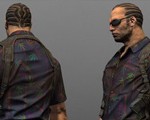
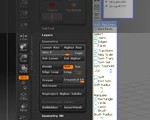
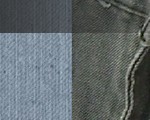
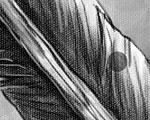
7/8.Select desired alpha and texture entire model.Standard brush/stroke to
DragRect/Z intensith 10-14 to sub.On the midpoint of the model, I have turned
of symmetry to avoid mirrored look.
选择您所需要的alpha和纹理铺满整个模型。Standard笔刷/stroke为DragRect / Z
intensith在10-14来设置。模型是在中心上的,我已经关掉了对称,以避免看上去太对称
。
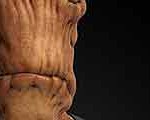
9.Texture completed.Model ready for polypainting.
纹理完成后。模型准备上色了。
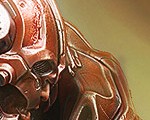
10.For the best result I have picked the white matcap material, increased the cavity detection and started painting.
为了最好的结果,我选择了white matcap材质,增加了cavity detection,并开始绘画
。
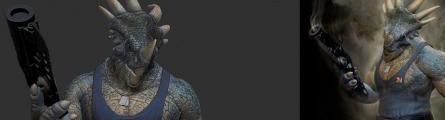
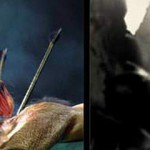
11.After finishing the polypainting I used the Transpose tool to pose the character.
完成上色后我用移动工具给角色摆了个姿势。
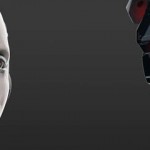
12.These are the matcap renders used for final compositing in Photoshop, together with Smoke and water drops.
这些都是matcap渲染后最后在Photoshop里加上烟雾和水滴合成的。


推荐课程


推荐教程

0回复如何用Zbrush制作犀牛怪"