A Retro Wallpaper/Poster Step By Step Photoshop Tu
手把手教你用Photoshop制作一张怀旧海报
原文地址:http://ubldesignes.co.uk/tutorial/retro-wallpaper-photoshop-tutorial
作者:ubldesignes
翻译:CWWS
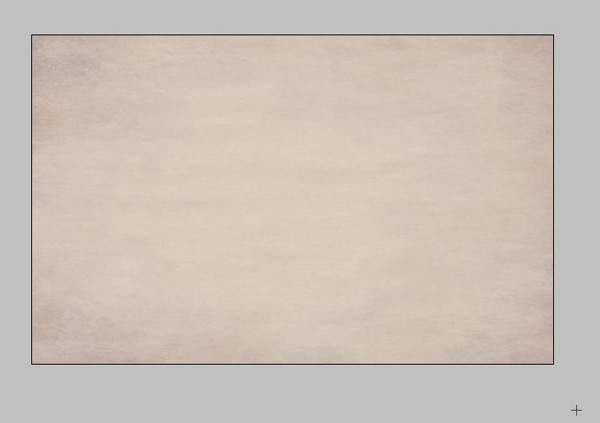
Step 1
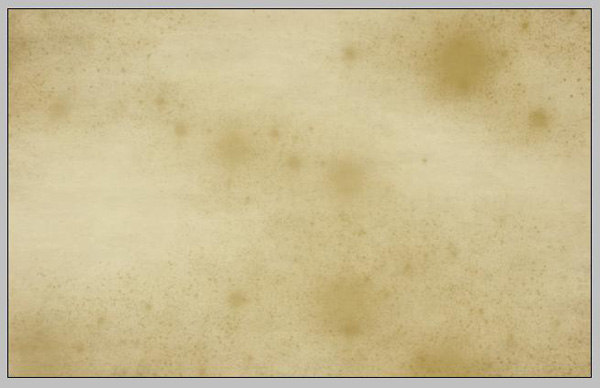
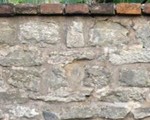
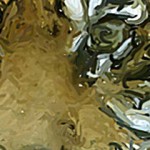
Start a new document at a size of 1900×1200. Click here to download this textured background picture and place it in to the picture and put the Opacity to 40%.
第一步
新建一个尺寸为1900×1200的文档,点击这里下载这个纹理背景图,将它拖入你新建的文档中,设置透明度为40%。
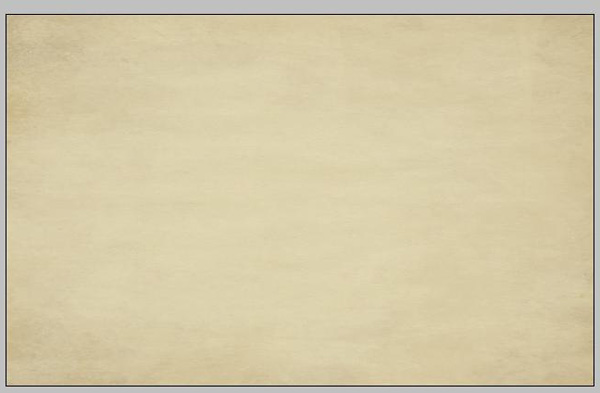
Step 2
Create new layer and fill with yellow and set the layer to Soft Light and Opacity to 30%
第二步
新建一层,用黄色填充,设置层叠模式为Soft Light (柔光),并将透明度设为30%。
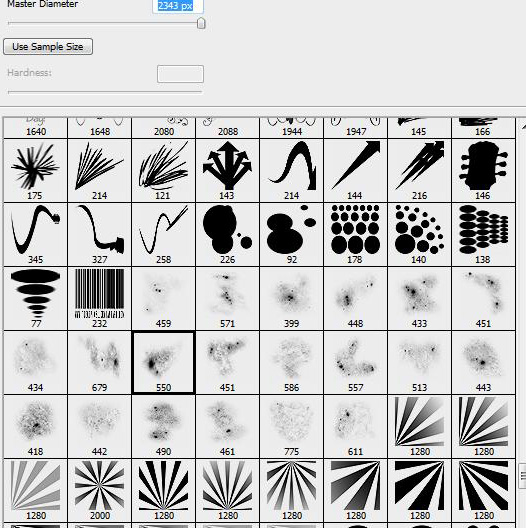
Step 3
Create new layer and set the foreground colour to #9d640a and select brush i have selected this brush but if you dont have that brush just choose one which adds a little texture.
第三步
再新建一层,设置前景层颜色为#9d640a,选择画笔工具,我选择下图的这种笔刷,如果你没有,那么选择你能找到的类似的就尅,我们只是用它来添加一些纹理。
Now draw around a little and set the layer to Multiply and Opacity of 70%. You should have something like below.
现在在层上各处绘制一些笔画,并将层叠模式设为Multiply ,透明度是70%,你将会看到如下图所示的效果。
Step 4
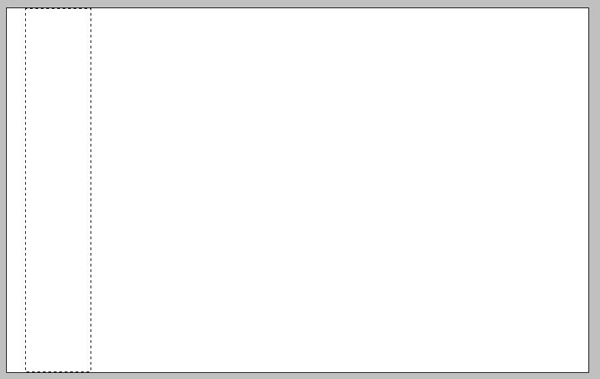
Ok create a new document and click on the marquee and select the rectangular and do as the image below is.
第四步
OK,新建一个文档,点击框选工具,如下图所示框选文档的一个区域。
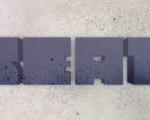
Step 5
Create new layer and set the background on your colour palet to what ever colour you like… i have set it to 7d8d72, now press Ctrl and backspace.
第五步
新建一层,将你的色板上的背景色设置为你喜欢的颜色,我这里设置为7d8d72,然后按住Ctrl 和回退键,在新建层上填充框选区域。

Step 6
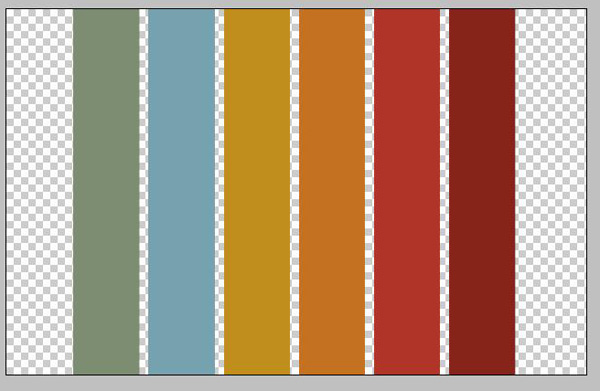
Now duplicate layer and move it 10 notches to the right and then goto Layer/Layer Style/Colour overlay and set the colour to what colour you would like to have. Now do this again for another 4 times untill you get something like the picture below.
第六步
现在复制刚才的层,将它向右隔开10个像素放置,然后选择Layer/Layer Style/Colour overlay(颜色覆盖图层式样),给它选择你喜欢的颜色。重复这个步骤4次,直到你得到如下图所示的结果:

Step 7
Now select background layer and click on magic Eraser tool and delete white background.
第七步
现在选择背景层,使用魔术橡皮擦工具点击一下,删除整个背景层。
Step 8
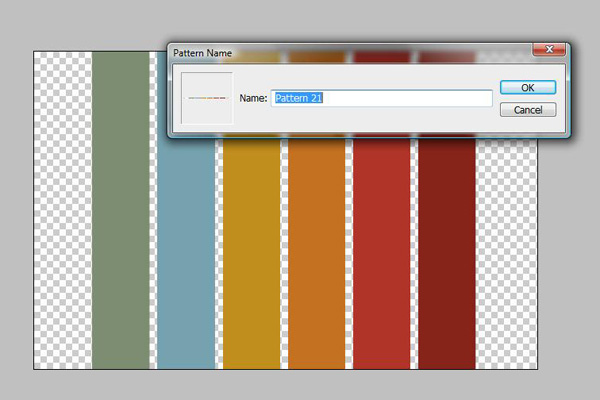
Now select the shape layer and goto Edit/Define Pattern and save it.
第八步
现则选择形状层,点击Edit/Define Pattern,将它保存为图案。
Step 9
Now go back to your original document and create a new layer and click on the paint bucket tool and at the top left of the page set it to pattern and fill the page. You will have to erase the over lapping pattern fill so that you get an image like this
第九步
现在到你的原始文档去,新建一层,点击油漆桶工具,在顶部左边的参数栏选择刚才定义的图案,并填充页面,会需要删除互相重叠的图案部分,这样你就能得到如下图所示的结果。

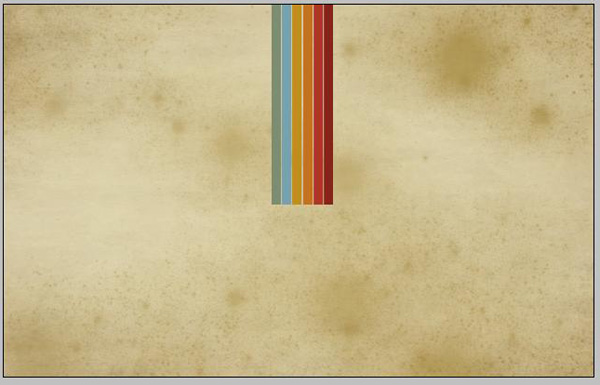
Step 10
Now press Ctrl and T and resize it to the image below
第十步
现在按快捷键Ctrl + T,将彩带缩放到下图大小。
Step 11
Create a new layer and follow step 9.
第十一步,新建一层,重府步骤9.
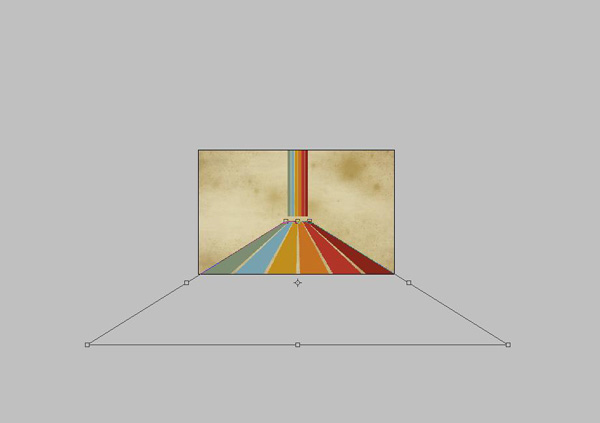
Step 12
Now press Ctrl T and then right click on it and click Perspective and get is like the image below. Keep it a little below the other pattern like i have.
第十二步
现在按快捷键Ctrl + T然后鼠标右击在弹出菜单选择Perspective(透视),并将彩带调整为下图所示画面,让它和垂直的菜单图案之间保持一点空隙。
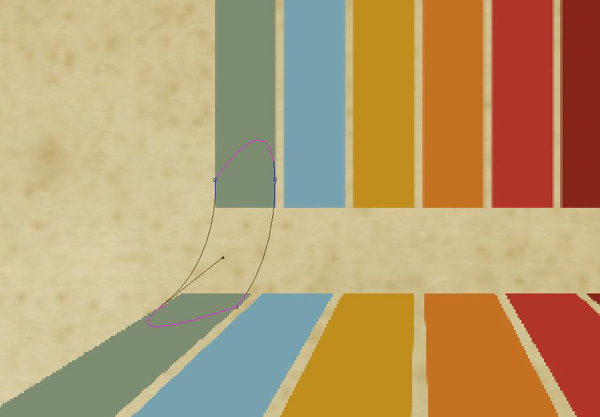
Step 13
Zoom in so that the middle of the page is big. Now select the pen tool and do as shown below.
第十三步
放大画面中部,选择钢笔工具绘制如下图所示的行装。
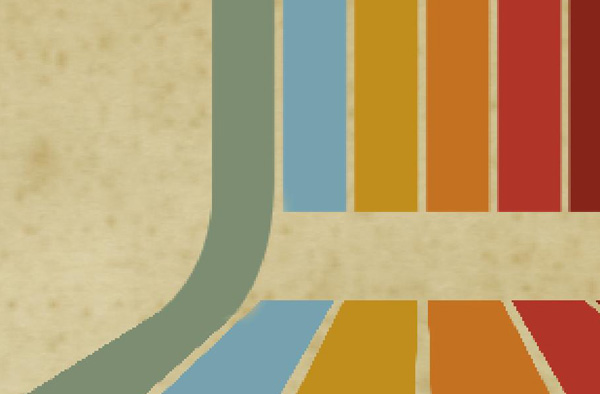
Step 14
Create new layer and call it middle1. Now with the pen tool still selected goto the pattern you have just created and right click and select make selection and feather 0. Set the background on the colour pallet as the colour you have chosen for that pattern and press Ctrl and backspace. You may have to arase alittle to make it perfect.
第十四步
新建一层,命名为middle1.现在让你的钢笔工具仍处于选择状态,在路径上右键点击选择make selection(选择曲线路径区域),并设置feather(羽化)为0.将背景颜色选为和你的上下色条一致的颜色,然后按Ctrl + backspace键,连接上下色条,你可能需要将这个区域擦掉一点,让它完美衔接上下线条。
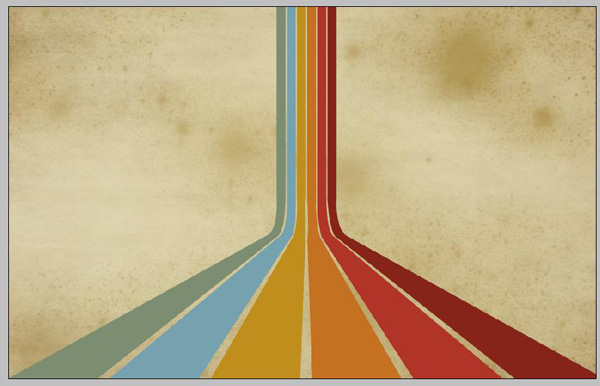
Step 15
Now create a new layer and call it middle2 and copy the rest of step 14, do this untill you have finished and have an image as below. Then merge all middle layers, top and bottome pattern layer.
第十五步
现在新建一层,命名为middle2,再次重复步骤14,将第二条上下彩条连接起来,重复直到所有彩条都被连接好,你会得到如下图所示的结果,合并所有的彩条层和连接层,将它们变成一层。
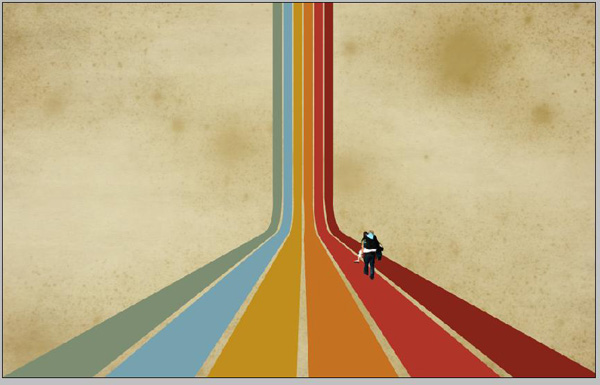
Step 16
Click here i purchased this picture and got the pen tool and went round the people and cut them out. i then went to Filter/Artistic and selected Colourd Pencil and placed it onto my image like so.
第十六步
点击这里查看,我买了这张图片,并使用钢笔工具沿着人物轮廓绘制路径,将人物抠出来,然后我使用 Filter/Artistic(艺术化)滤镜,并选择Colourd Pencil彩色铅笔效果,并将它放到我的图像中,如下所示:
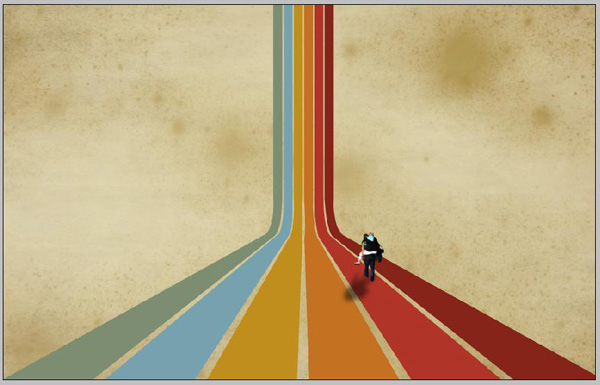
Step 17
Now duplicate layer and press Ctrl T and goto Edit/Free Transform/Flip Horizontal and then rotate like shown.
第十七步
选择复制人物层,按快捷键 Ctrl T,并选择Edit/Free Transform/Flip Horizontal(横向翻转),将图像如下图所示旋转。

Step 18
Now goto Layer/Layer Style/Colour Overlay and fill in black. Set the layer Opacity to 50% and goto Filter/Blur/Caussian Blur and Radius to 8.5
第十八步
现在选择Layer/Layer Style/Colour Overlay(颜色叠加图层式样),并将填充色选择为黑色,将层设置为50%透明,再选择Filter/Blur/Caussian Blur(高斯模糊滤镜),将Radius 参数设置为8.5.
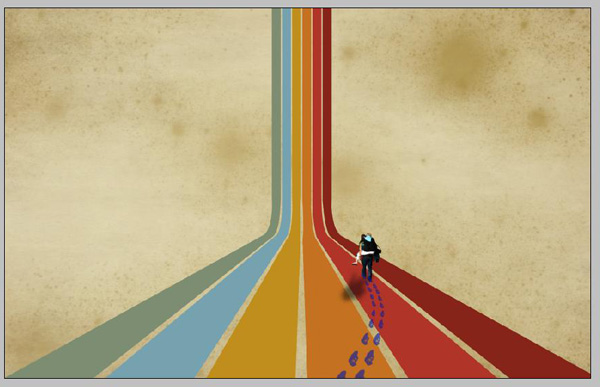
Step 19
Create new layer and pick a colour and brush of your choice to make foot steps like the picture below. Dont forget to make foot steps bigger as they get closer.
第十九步
新建一层,选择一个脚步的笔刷,然后如下图所示绘制一些彩色的脚步图案,别忘了让脚步笔刷表现出近大远小的效果。
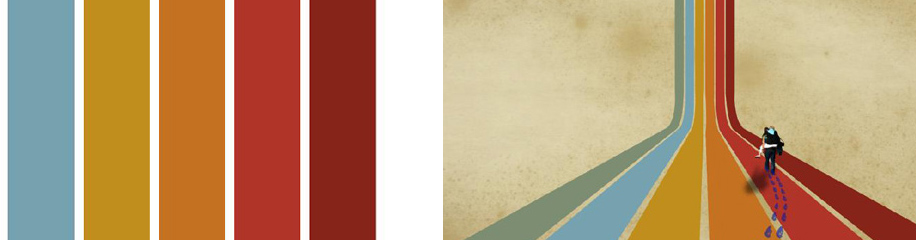
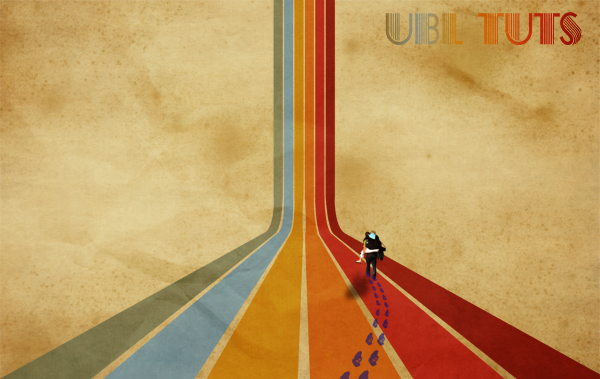
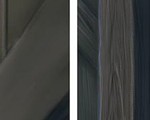
Final Step
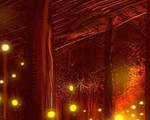
Click Here and download this textured background and then place it above all layers. Set the Opacity to 50%. Ive then added text and then all is done.
最后一步
点击这里下载这个纹理背景然后将它放在所有层上面,将透明度设置为50%,然后加上文字,整个儿就做好了。


推荐相关中文教程

电影MATTER PAINTING基础实战案例教学
马良老师将通过一个精美的实例,来教你如何使用Photoshop结合After Effects软件完成动态Matter Painting场景的制作,从而带你踏入专业MP行业的大门。构图绘画完全教学
本套课程的内容重点是学习绘画艺术的构图规律和方法。在绘画学习过程中,构图是一个重要的组成部分,学习它对于提高绘画练习和创作水平有显著的促进作用。特指纯艺和插画,海报。艺用人体解剖实用教学 下集 四肢篇
本套“四肢篇”教学是王九斤老师的《艺用人体解剖使用教学》系列教程中的下集部分,主要讲解了四肢的结构绘画要点,以及部分人体动态的基础讲解。艺用人体解剖实用教学 上集 躯干篇
本套“躯干篇”教学是王九斤老师的《艺用人体解剖使用教学》系列教程中的上集部分,主要讲解了躯干的结构绘画要点,以及部分人体动态的基础讲解。


推荐课程


推荐教程

额,底纹下载在哪里呢?