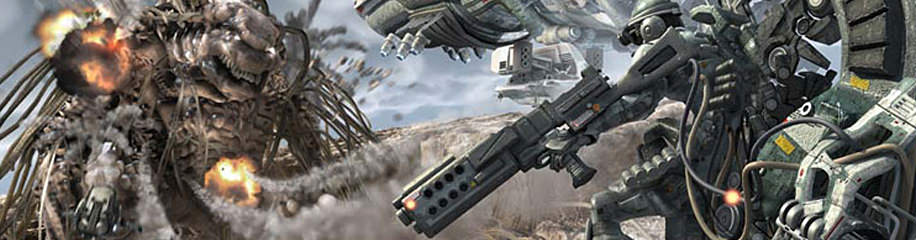
“The Explorer” by Monsit Jangariyawong
“探索者”的制作流程
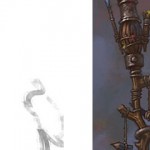
I started sketch with pen and paper , I tried to draw little thumbnail as much as possible to find the right composition , I spent mech time at this stage, because , if you find the right compostion at fist ,it will save you a lot of work. Finally I picked the one I liked and developed it into high resolution image. At this point I begun to add detail to my ship, monster, pilot design and used it as reference in modeling stage.
我从使用钢笔和纸绘制草图开始,我尝试着尽可能多地绘制小的缩略图来找出正确的构图,我花了很多时间在这个阶段,如果你在开始阶段就找对构图,那将会给你省很多事,最终我选择了最喜欢的一张草图,准备把它发展成高细节的最终作品。于是我开始给我的飞船,怪兽,飞行员设计添加细节,并把它们作为建模阶段的参考。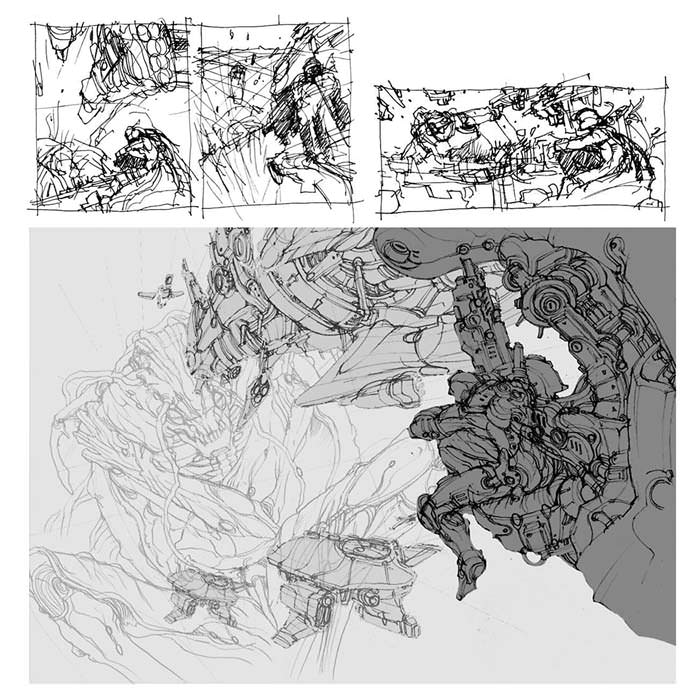
I used image from step 1 for modeling reference ,I locked the camera position at this stage and found the lense that suited my compositon. After the camera work was completed I begun to model each of my element piece by piece .
我使用第一阶段绘制的图片来作为建模参考,我锁定了摄像机位置,并找到适合我构图的镜头设置,做完摄像机的工作后我开始一步步地建立我的每一个模型。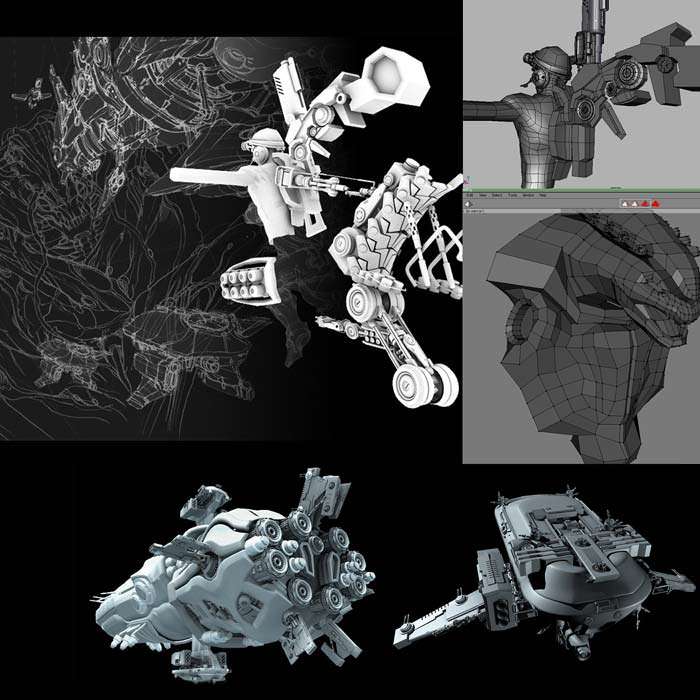
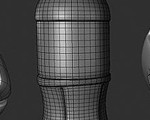
My modeling tool is wings3d and Alias maya. I used box modeling technic for my main element such as pilot, space ship and alien and finish UVmapping in wings3d. It had great feature to make my task easier. For the detail model such as gun , mechanic part , I used nurb surface in maya because my gun design is easy to use nurb modeling method.
我使用的建模工具是wings3d以及Alias maya,我对于主要元素,比如飞行员,太空船和异形使用从立方体元素开始扩展模型的技巧,完成模型后,使用wings3d处理UV展开,wings3d在处理UV时有非常好的功能,让我的工作非常轻松。对于一些细节模型,比如枪,机械部分,我使用Maya的 nurbs表面建模,因为使用这种方式能够很容易地创建枪的细节。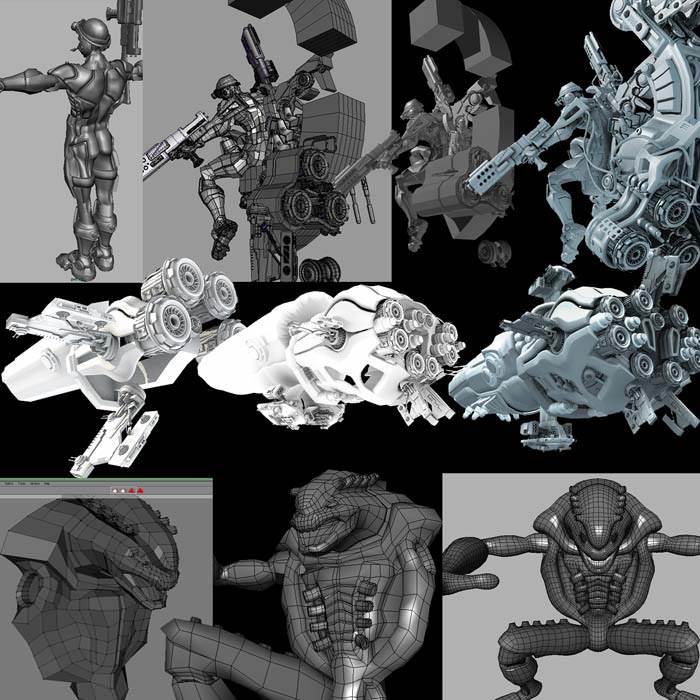
I decided to give my scene happen in daytime. At the big area of grand-canyon-, I was inspired by starwars desert planet, the terrain was entirely made with flat nurb patch. I used high resolution displacement map to generate the high of terrain in combination with bump map. I could see the displacement preview in viewport by using of hightfield utility node in maya. Final image was rendered with mentalray.
我决定让我的场景故事发生在白天,在一个山谷的巨大区域,我从星球大战中的沙漠行星获得灵感,山脉完全是用扁平的nurbs面片构建的,我使用高分辨率的置换贴图结合凹凸贴图来生成山脉的高度,通过使用maya 中的叫做 utility的节点,我可以直接在视窗里预览置换贴图的效果,最终图像是用Mnetalray渲染的。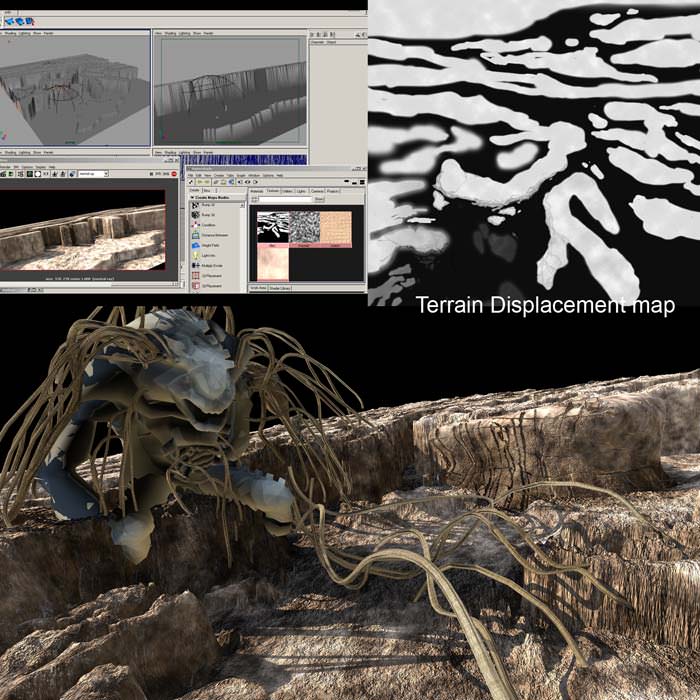
Texture work was painted by hand in adobe photoshop. The resolution is pretty high about 4096×4096 . Reflection map was made by render terrain scene environment.
材质贴图是在Photoshop中手绘的。分辨率非常高,达到了4096×4096 ,反射贴图则通过渲染山脉场景环境来获得。
Progression of my texture work , at this point I begun lighting work. I used Dome light script for GI ambient atmostphere light. After I finished lighting, I begun to fine tune my texture. I wanted my model to look old as it was used for a long time so I added more dirt to texture map. Alien shader used subsurface scattering in maya to acheive the creature-skin look.
下面是我贴图工作的进展图,到目前这个阶段我开始灯光设置工作,我使用Dome light脚本来获得模拟GI的 环境灯光,当我完成灯光设置之后,开始细化调整我的贴图,我希望模型看上去像是使用了很长时间,有陈旧的感觉,因此我在贴图上加了更多的污渍,异形的材质使用的Maya的次表面散射节点,来获得生物皮肤的外观,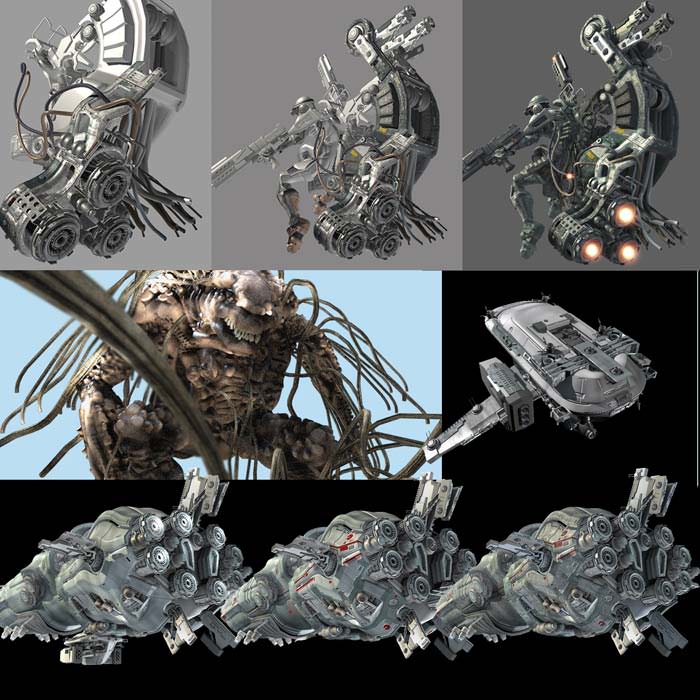
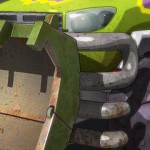
Spaceship was rendered in multi-pass method. I seperated it in several parts:1.color with ambient light pass, 2.sun light diffuse pass. 3. specular pass 4.shadow pass. 5.ambient-occlusion pass,6.effect pass. with this method. I had more freedom to fine tune it without rerender.
太空船渲染出多个通道,我把它们分为几个部分:1,颜色结合环境灯光通道。2.太阳光漫反射通道,3,镜面反射通道,4,阴影通道,5环境遮挡通道,6,特效通道,通过这个办法,我可以在后期有更大的自由调整画面,而不需重新渲染。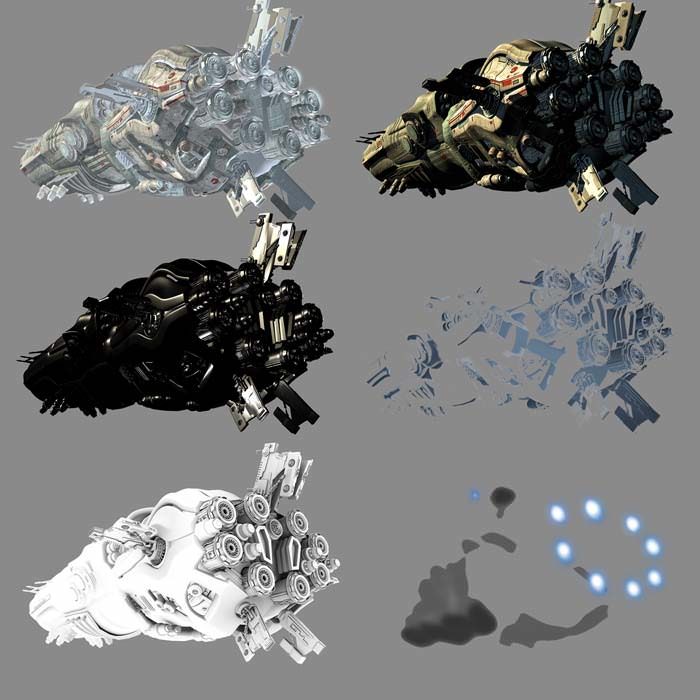
Main element of image the pilot was made by the same technics and concept with spaceship but needed more details. At this stage I begun to combine all element to see the overall composition.
图像的主要元素飞行员是通过同样的技巧完成的,它的概念出自太空船,但需要更多的细节,在这个阶段我开始合并所有的元素以查看整体的构图。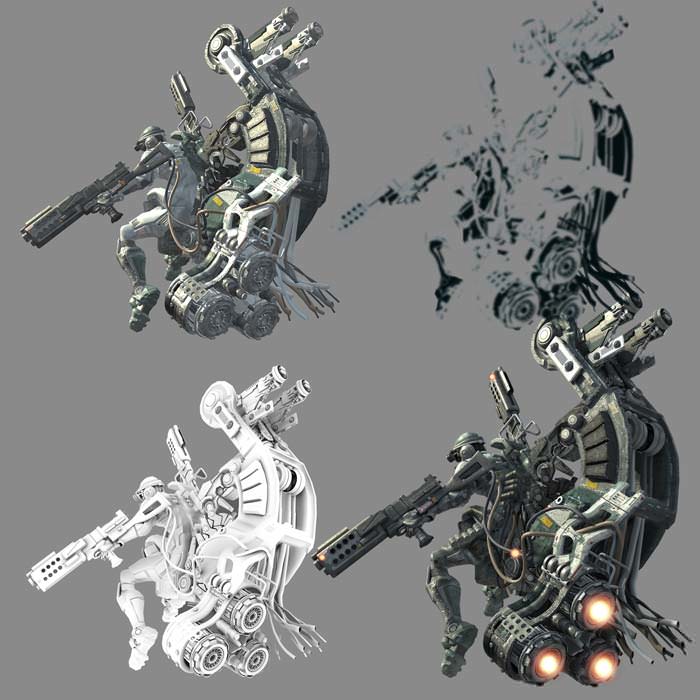
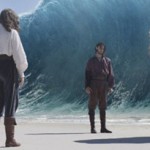
Lighting and texturing was done. I begun to experiment with the final composition. I put my rendered element in differnt position, sit back and post my experiment in forum and recieved many valuable comments. Finally I decided to follow my old composition . At this point I used photoshop to desaturate my render into mono-tone image to “seperate” value and add depth to my image.
灯光与材质都完成了,我开始实验最终构图,我把我的渲染元素放置到不同的位置,并把我的构图放到论坛里,并收到许多有价值的意见,最终我决定遵循我旧的构图结构,然后我使用photoshop来降低渲染的饱和度到单色图像,以“区分出”不同的明暗度,并给我的图像加上深度。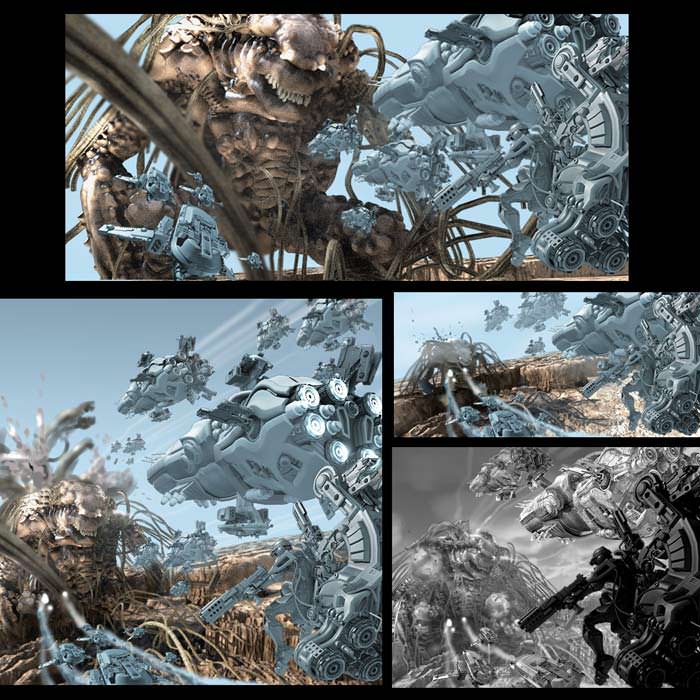
I used maya fluid effect for sky explosion and missle trails.
我使用Maya的fluid effect (流体特效模块)来创建天空中的爆炸和导弹的尾迹。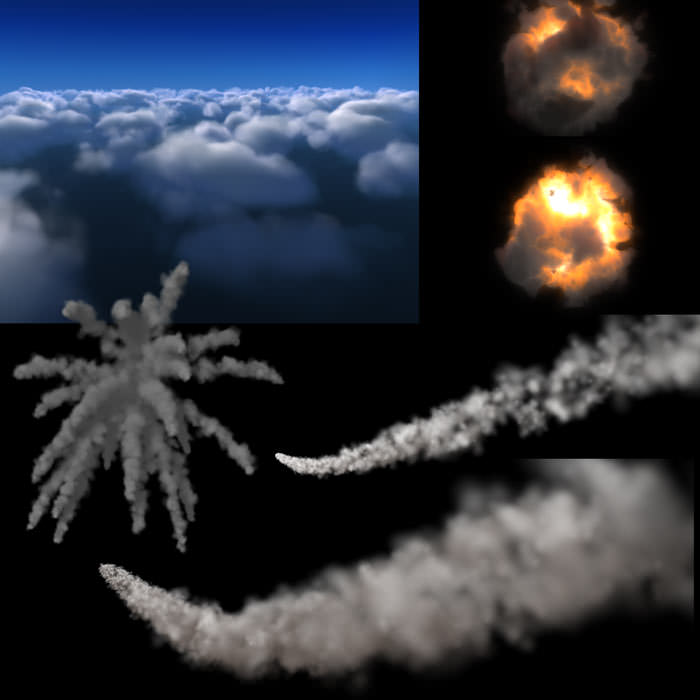
I composited all elements with adobe photoshop, desaturated, blur, I added glow effect, paint fog to seperate my element. With my greyscale reference from my earlier step, I adjusted contrast and value of pilot to seperate it from the spaceship .
然后我使用Photoshop合并所有的元素,降低饱和度,模糊,添加光晕效果,绘制雾来分开我的元素,参考我早期创建的灰色图像,我调整飞行员的值来将他与飞船区分开。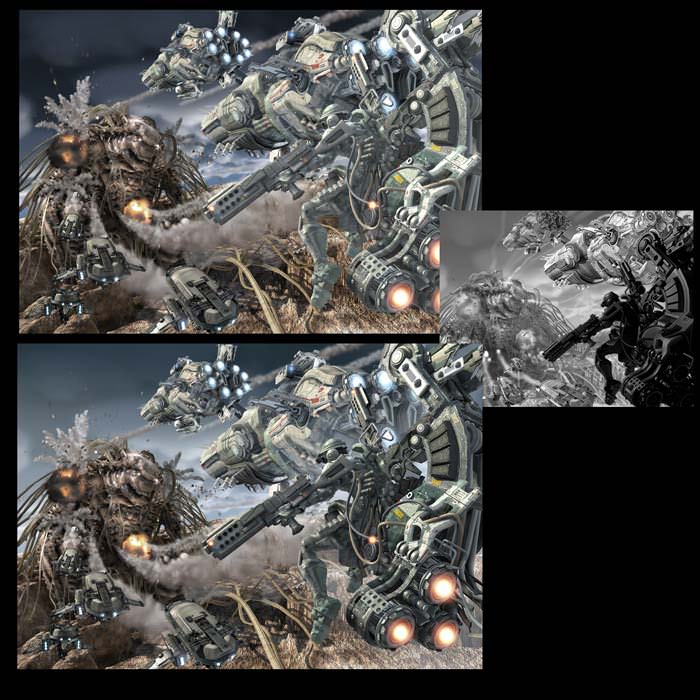
I begun to fine tune all detail point, retouche some problem spots and I used photoshop’s liquify to add “heat wave”effect to spaceship jet. Finally it was done!
最终我开始细调所有的细节点,重新润饰一些有问题的地方,并使用photoshop的liquify(液化)工具来给飞船的喷射添加“热浪”滚滚的感觉,终于,这幅作品完成了。
(c) Monsit Jangariyawong, monsitj@hotmail.com


推荐相关中文教程

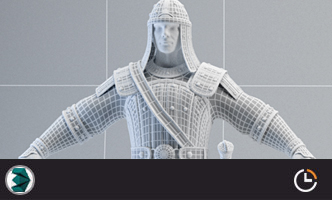
《大猿王传》电影级别动画短片系列教学第二部:大猿王贴图篇
学完本套教学以后将能够理解自然界物体贴图的规律,不再局限于照片贴图的投射方式画贴图,能够高效率的完成大分辨率超多UV象限的UDIM模式贴图的绘制,制作出真正电影级别的贴图并且够理解Liner线性工作流程的原理,在工作流程灵活高效的完成贴图以及渲染工作。Maya绑定技术精解教程机器人绑定完全教学
本套教学还会讲解在绑定中如何结合python,大大提高绑定效率,与人物不同,机械类的绑定往往需要联动的效果,并且四足的设置也与人物不同,需要结合多套IK的特性和设置达到最终效果Maya绑定技术精解教程进阶篇角色身体绑定
本套教学基于初级人物绑定基础上增加了IKFK拉伸,肘部锁定,IKFK共存,无缝切换等大家迫切想要了解的知识,并结合作者经验,让大家快速掌握这些非常有用的技能。《大猿王传》电影级别动画短片系列教学第一部:大猿王模型篇
教程中涉及的技术流程都是现在影视公司比较流行的技术,掌握了这一系列教程中的技术能帮助CG从业者在公司更好的工作。对于CG专业的学生来说,学会了这套教学的技术能更好地完成毕业设计,做出更好的演示作品,找到自己满意的工作。3DSMAX零基础入门及建模实战中文教学
全套教学大大小小的案例总共有17个,从最简单的杯子到最复杂的角色,从硬表面到生物角色都有包括,全套教学接近40小时,3dsmax2016以及以后的版本都适合。Maya高精度建模全案例实战教程进阶篇
本教程是maya影视建模的实战教程,作者教授了多年的影视模型制作工作经验。使用maya的建模工具完成武器,场景,道具,角色等高精度的多边形模型的建模。这类模型的制作能力在影视制作,游戏制作中,都是必备的。也是所有CG从业者的必须技能。写实女性角色制作全流程高级案例教程
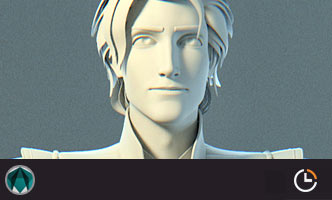
本教程是超高质量的写实角色肖像制作完全流程,教程从基础模型搭建开始,演示了一个写实欧美女性的制作全流程,教程保留了所有技巧的关键节点,全面呈现制作这种写实类型角色的技巧和流程。希望制作写实角色肖像的用户将从中学习到大量的高级技巧。高精度PHOTOGRAMMETRY照片阵列建模初级教学
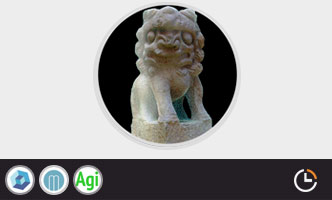
本教学由HUNTER老师主讲,以photogrammetry(照相测量法也就是俗称的照片建模)的原理为核心,讲解高精度三维扫描的特性,分析并挑选合适的设备。最后制定出实用性极强的工作流程。适合需要快速制作逼真的高精度模型以及高清纹理的CG工作者。

推荐课程


推荐教程

0回复“探索者”的制作流程"